Skip to content
All Posts
Cookbooks
About
Facebook
X
Instagram
Home
Recipes
Expand
Breakfast
Appetizers
Salads
Side Dishes
Soups & Stews
Main Dish
Marinades, Sauces
Desserts
Search for:
Search
Toggle Menu
Home
/
Recipes
/
Breakfast
Breakfast
Breakfast
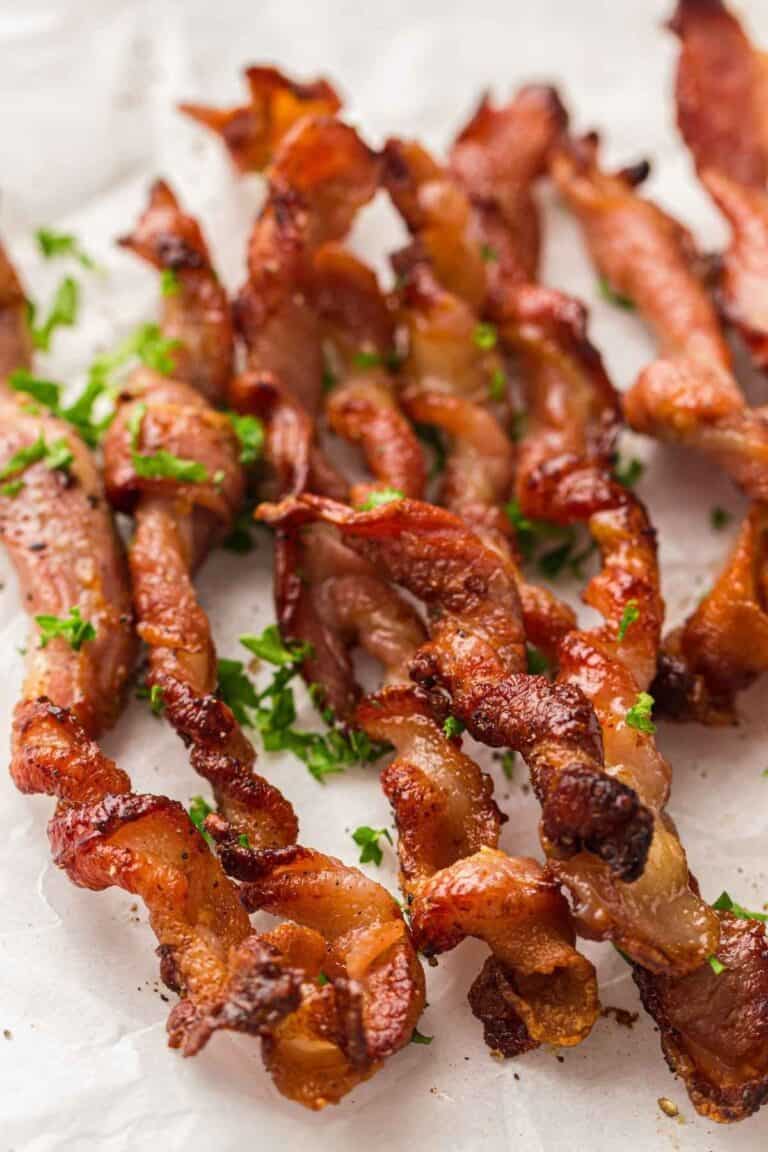
Air Fryer Twisted Bacon
Breakfast
|
High Protein
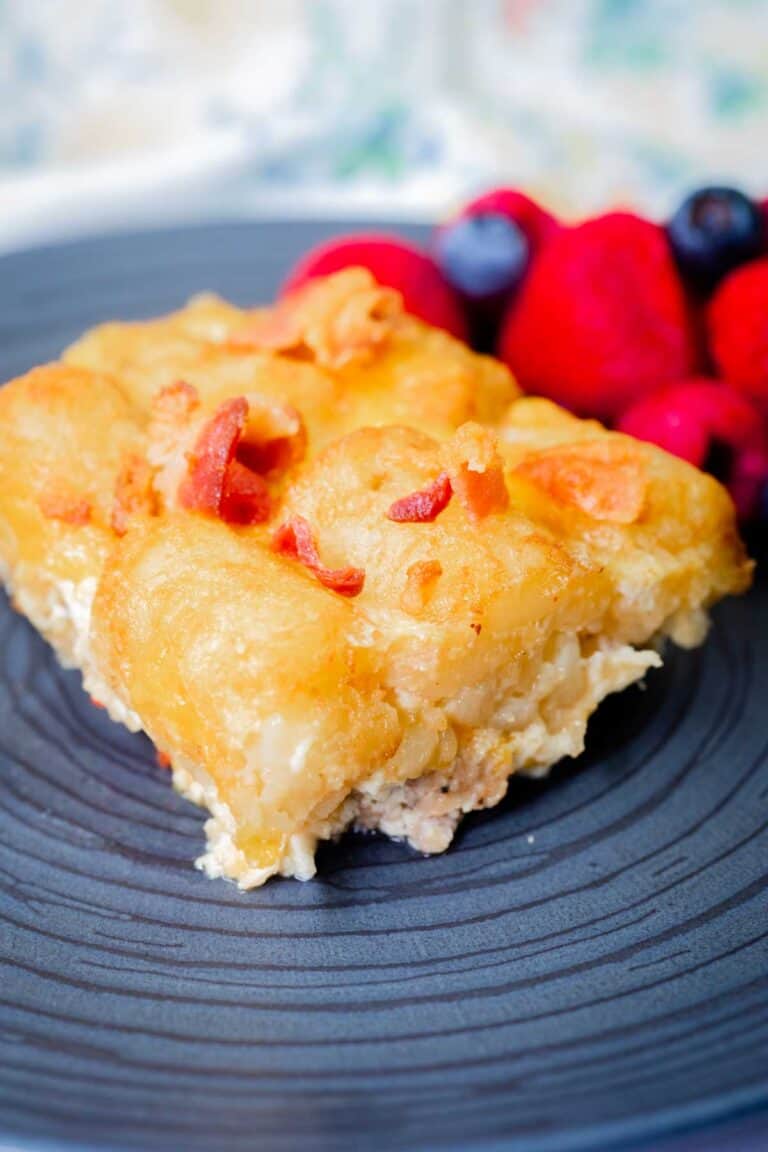
Fully Loaded Tater Tot Breakfast Casserole
Breakfast
|
Desserts
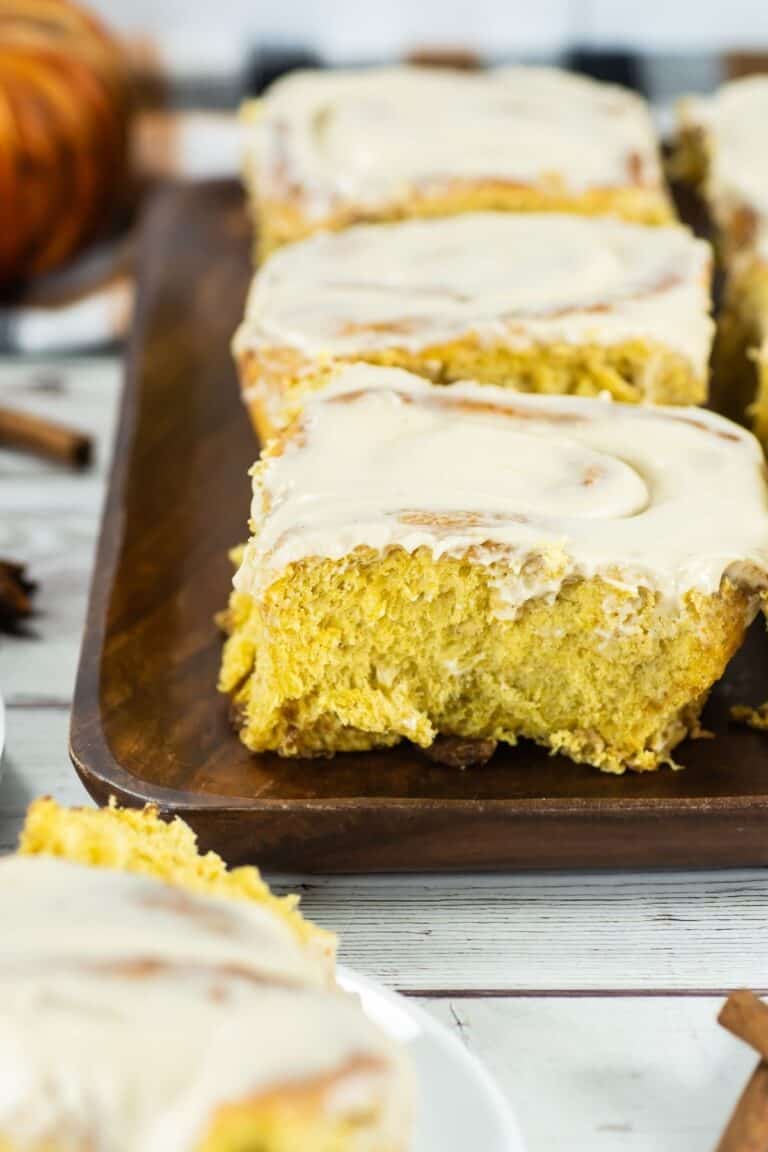
Pumpkin Cinnamon Rolls with Cream Cheese Icing
Breakfast
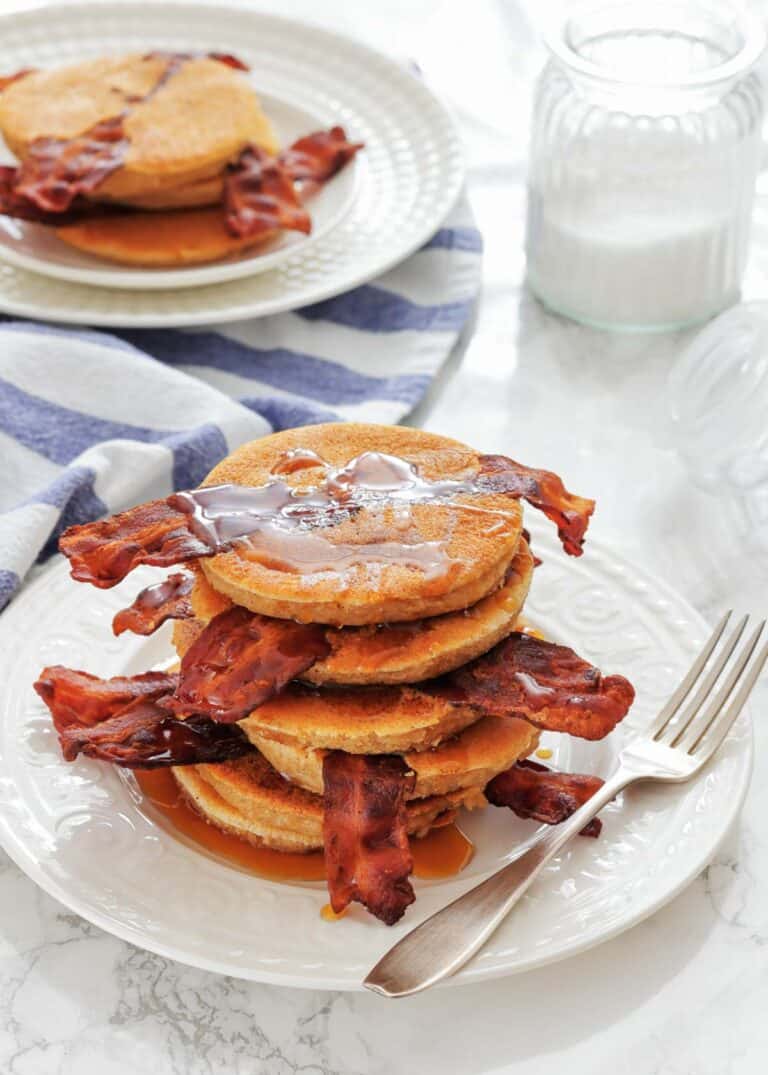
Bacon Pancakes
Breakfast
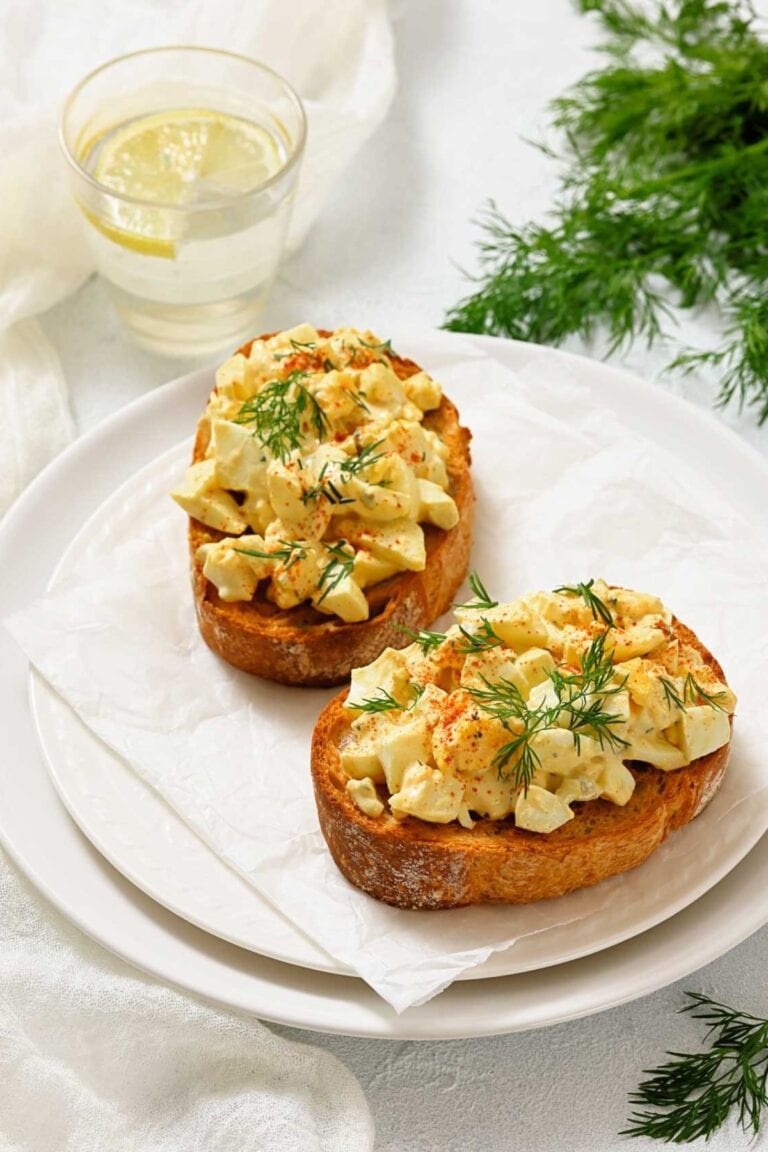
Deviled Egg Toast
Breakfast
|
High Fiber
|
Side Dishes
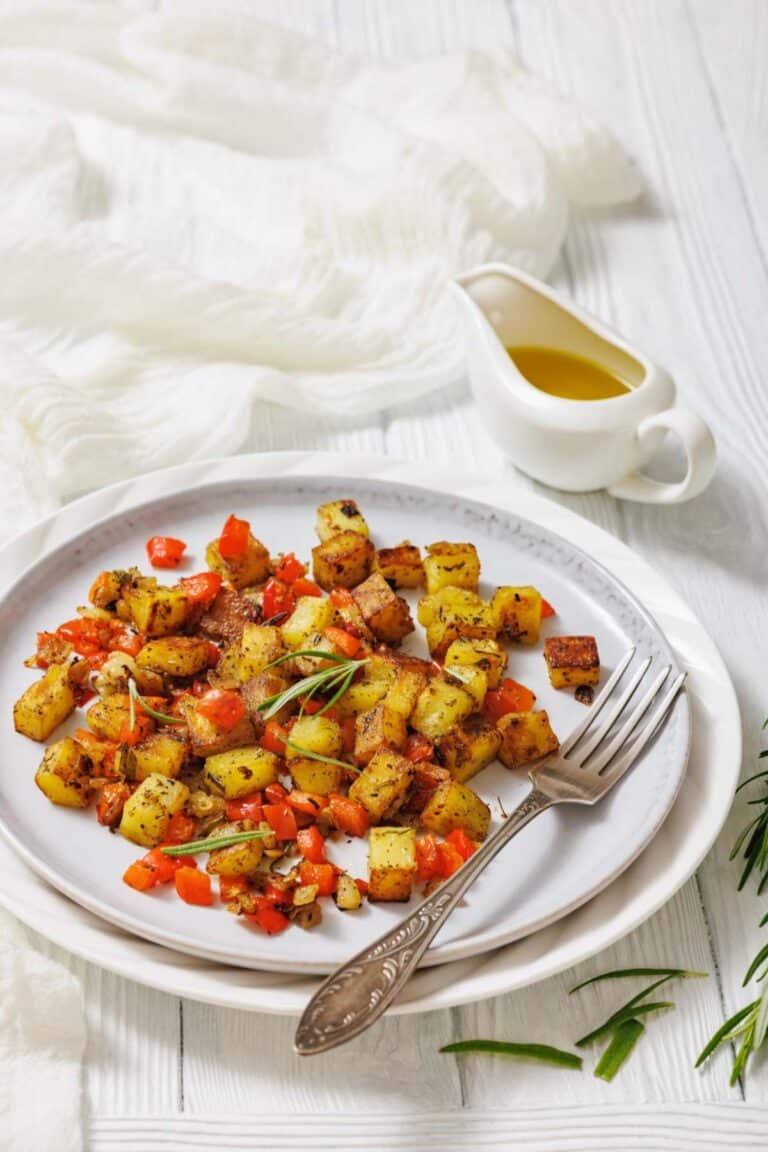
Skillet Fried Potatoes
Breakfast
Sausage-Hash Brown Breakfast Casserole
Breakfast
|
High Fiber
Apple-Pecan Baked Oatmeal: Tastes Like Dessert but Eats Like Breakfast
Breakfast
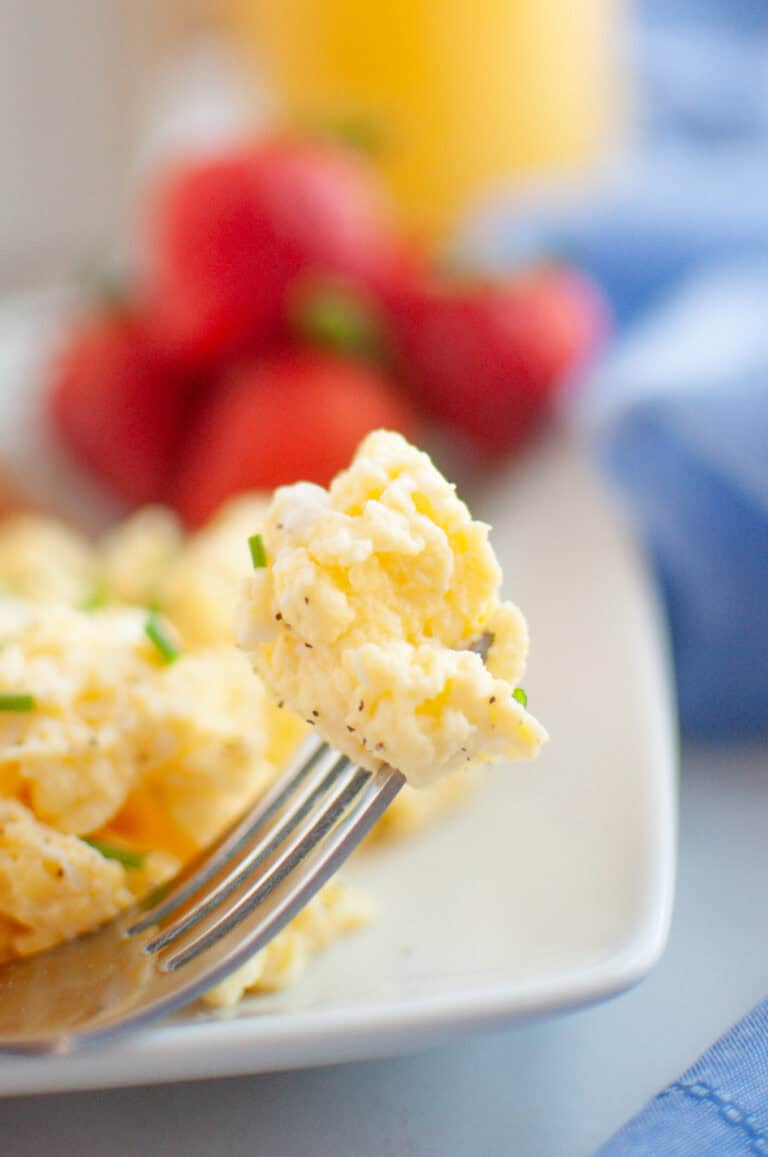
The Best Scrambled Eggs Ever
Breakfast
Easy Baked Western Omelet
Home
Recipes
Toggle child menu
Expand
Breakfast
Appetizers
Salads
Soups & Stews
Side Dishes
Main Dish
Marinades, Sauces
Desserts
Resources
Cookbooks
About
Privacy Policy
Rate This Recipe
Your vote:
Name *
Email *